January 16, 2015
Computer tips for the crazy quilter....
What a great day to blog and stitch...it's snowing outside!!!
A fellow crazy quilter, Claire Turner, ask me about how the computer can be best used to show off our crazy quilts. So I told her that I would do a blog on a few ideas I have, if you have others, please add them in the comments section for all of us to learn from!
Now, I don't use my cell phone to take pictures, I just like my digital camera best. And on my laptop I have Windows 8.1. So if you have an older version of Windows, some of what I do on mine will not apply to yours.
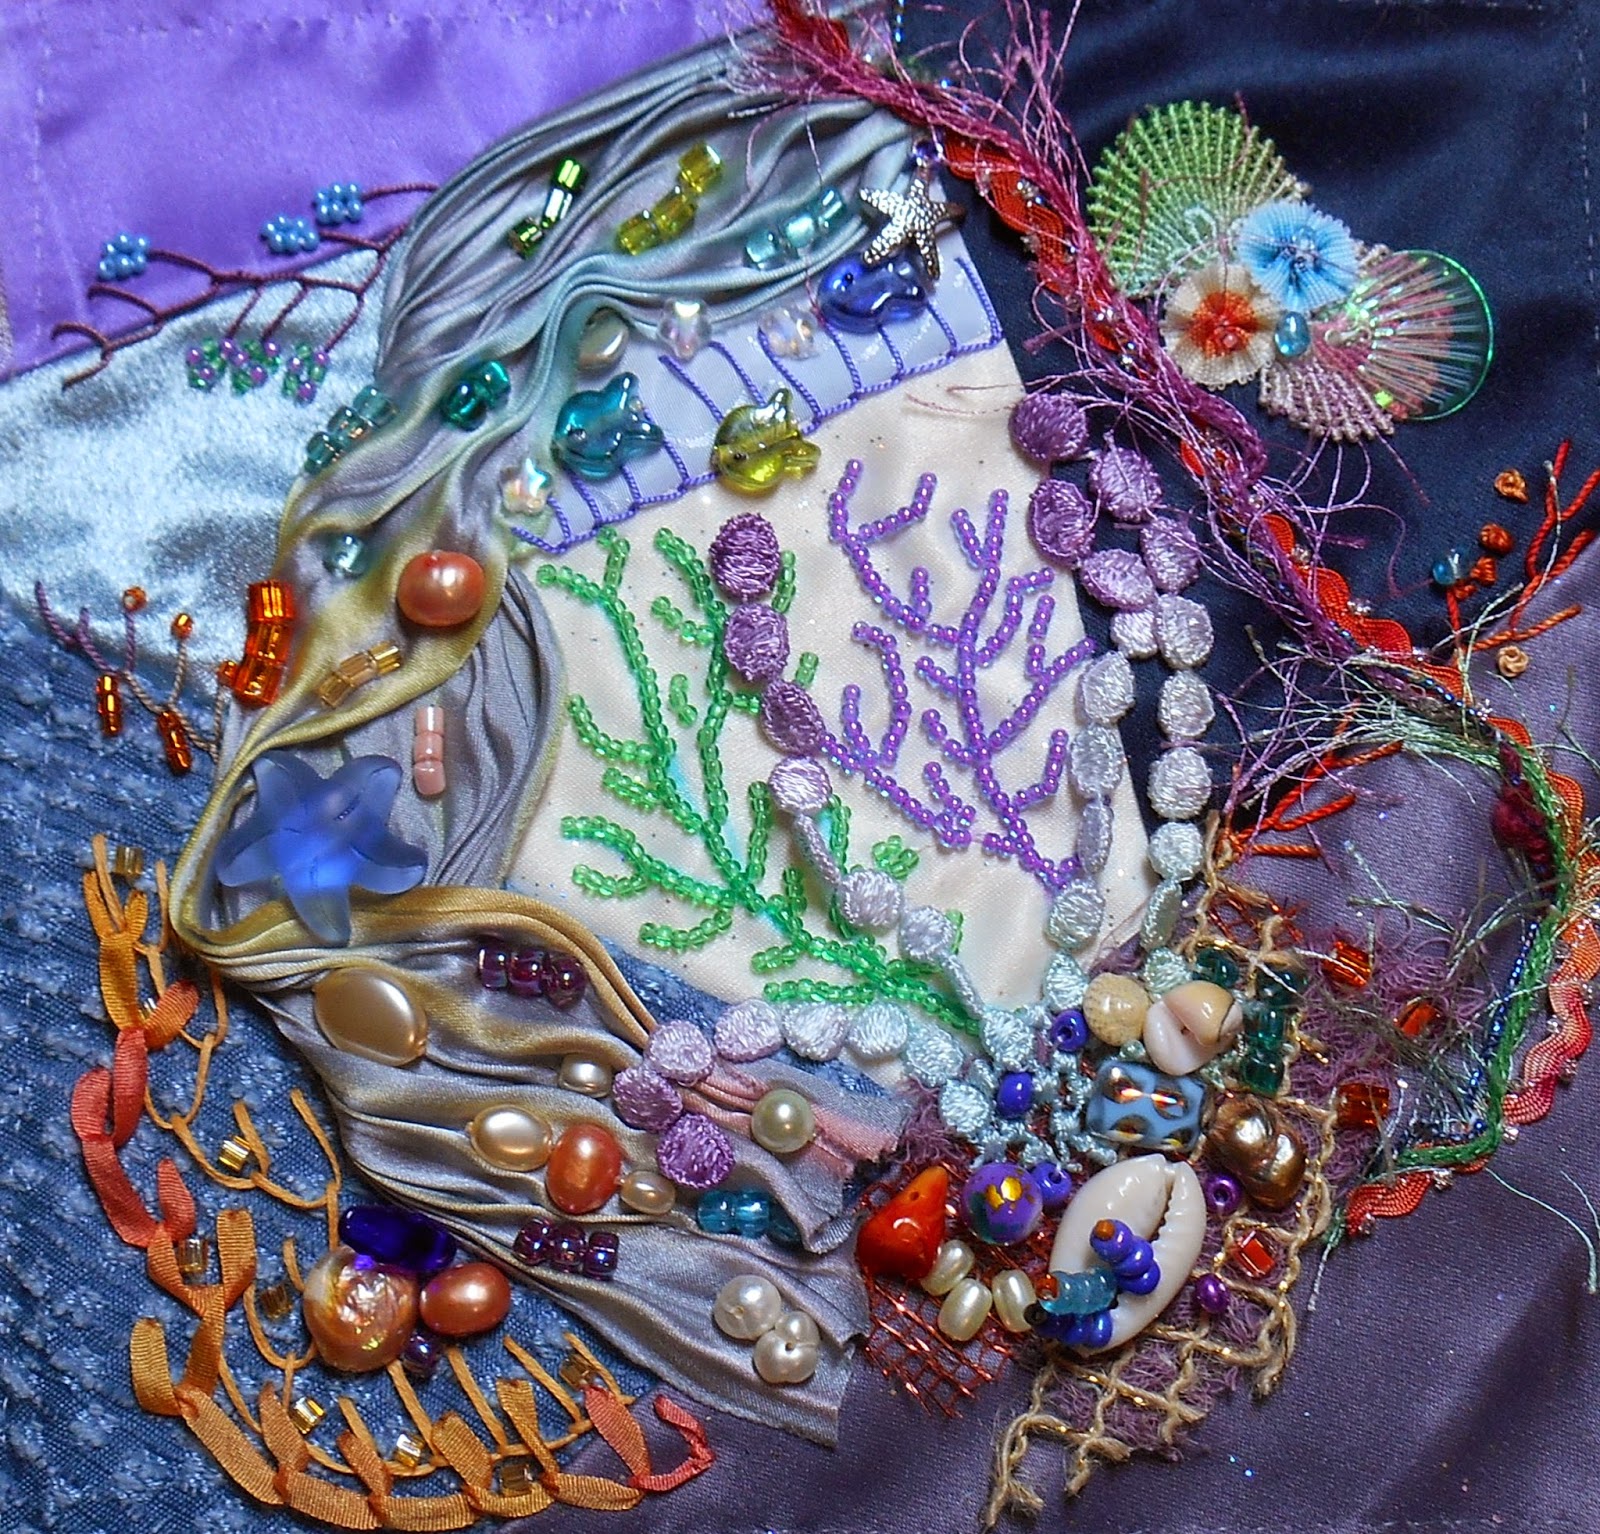
First of all, when I take pictures of my work, I do not try to zoom in. I find I get a better picture with the camera at normal. I also find that my Ott Lite gives me great light for my cloth works.
Then I download it to my computer, just a matter of plugging in the cord from the usb port to the camera, though some would take out the chip and plug it in. Your choice. I work from my desktop, so with the photo there, I right click on it and choose "open with" which then gives me the choice of "photos" among others. When it opens my picture to fit the screen, I can click on the picture and a bar opens at the bottom to give you the choice of flipping pictures and cropping it.
Now, if I wanted to show off a close up of one stitch, it's the same process...right click, choose open with, then photos, then crop.
I find this gives a much better close-up picture than if I had tried to zoom my camera in!!! The same process will allow you to alter your pictures, either sharpness, lightness, or whatever.
You do this effect, when you have your picture up on your screen, click on the picture, at the bottom of the page pops up "edit" as a choice; click on it, and on the left of your screen "effects" pops up. When you click on that, on the right side of your screen some choices pop up, one of them being "vignette". Click and hold your mouse on it and run the circle around till you get the effect you desire like above!
Another tool I learned and love recently, from
Nicki Seavey is the "snipping tool". I have had so much fun with this tool. When you are on a web site, I will use Nicki's blog page, you would use your search tool, which on Windows 8.1, it's found by moving your mouse to the upper right corner and waiting for it to show, then click on it and type 'snip', then when it pops up, click on it, and it brings a little box on your page. By clicking on "new" your mouse changes to a pair of scissors, and you move it around your picture that you want to save.
Be sure to visit Nicki at her blogspot, R
aviolee Dreams, thanks, Nicki for this tool!!!!
And one last tool for crazy quilters especially. By visiting
Big Huge Labs, you can design your color palettes just the way you want. You click on "browse" and then upload your photo by then clicking on "create palette" and wait for the magic!
First you will want to click on your snipping tool, which is the only way to save the palette that comes up.
So with my photo of my project, you can see the color choices I made. You can do this with a piece of fabric by scanning it on your scanner, and then save to your desktop, add it to the browse choice on the Big Huge Labs page!
Well, I hope this helps all newbies, including Claire. And I am sure there are more tips that I don't know about. So please add them in the comments section.
Happy Stitching!!!


.JPG)
.JPG)

.JPG)


.JPG)
.JPG)
.JPG)


.JPG)

.JPG)
.JPG)
.JPG)
.JPG)
.JPG)
.JPG)


